In this day and age of COVID-19, more and more people are turning to their smartphone and tablets to shoot video content as a way to keep their businesses going strong.
Whether you’re an executive who needs to record a presentation for colleagues, a musician who wants to teach their students how to play the drums, or a fitness instructor who is moving their classes to an online learning environment, this information will help you create better videos.
Keep in mind there is a lot more to making good videos great, but this quick guide will help you make your videos, better.
Equipment
Tripod
Using a tripod ensures that your smartphone or tablet stays steady and won’t move. A tripod also frees up your hands so that you can gesticulate, demonstrate, etc.
Tripods vary in price. In general, the more you pay the better the quality, stability and ability to do smooth movements such as panning.
For a smartphone or tablet you can usually get away with only paying around $30 (for example this tripod may suit your needs). It depends on what you plan to shoot and how.
When choosing your tripod consider if the minimum and maximum heights will work for your purposes. For example, if you’ll be shooting a close-up of your face with the tripod resting on a tabletop, you may need to buy a mini tripod.

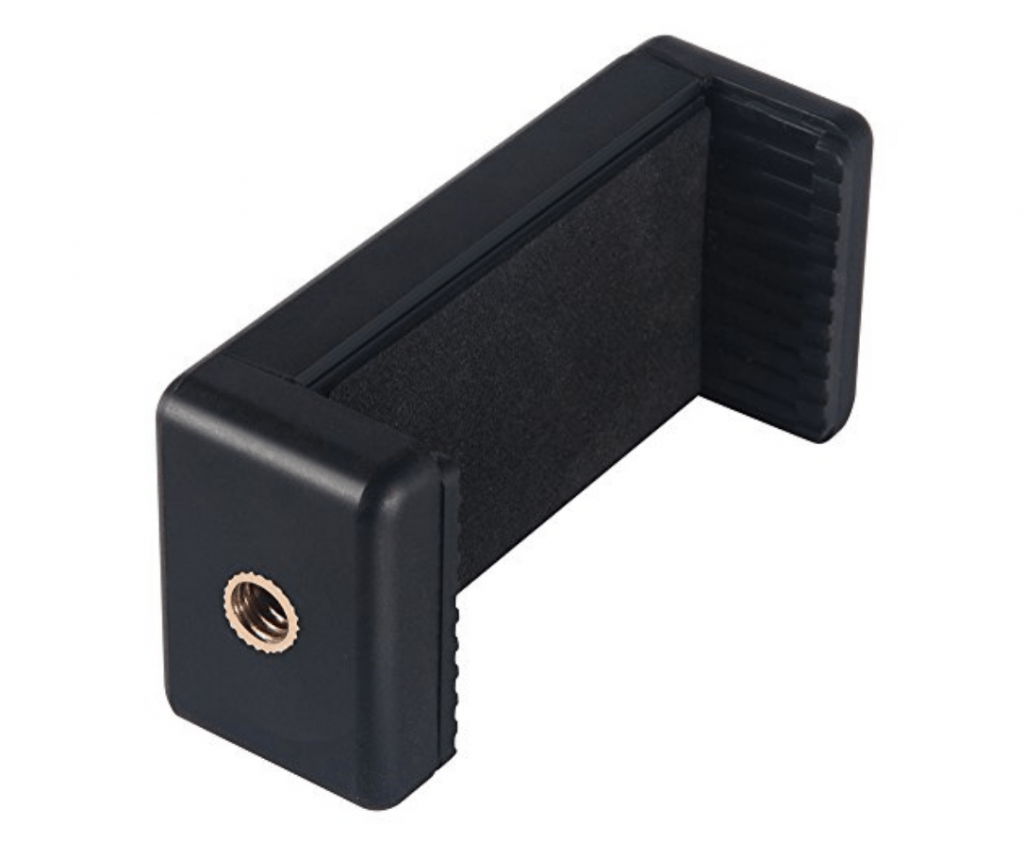
Phone mount
Tripods are generally designed for cameras which have a screw thread, so you will need to buy a mount to use the tripod for your phone or tablet. Here’s one that would work for a smartphone (cost is $15). Before you buy one, check that it will be compatible with your tripod. Or, you may find a tripod that is designed for a smartphone or tablet and comes with the correct mount.
External microphone
When you create video, you don’t want your audience to notice the sound. If they notice things like wind or echo, chances are they’ll be distracted and lose interest in what you are saying.
Avoid using your device’s onboard microphone to record audio, as it tends to pick up lots of background noise (especially when you are presenting to camera from some distance, and therefore not speaking directly into the device). For best results, use an external microphone and opt for the highest quality given your budget.
There are many options for recording audio. The cheapest and simplest is to use the headphones (and external microphone) that come with your device. For example, Apple’s AirPods contain a microphone in each AirPod. Or, you can use the wired headphone set and microphone that came with your device.
Otherwise, a good option is the Rode SmartLav+. This is designed to plug straight into your device (however, do check the specs before you purchase to be sure that it will work for your device). These cost around $90 and will give you a good quality audio recording.
You can also look at purchasing an external audio recorder (such as the Zoom H4N) which records great audio, however you would later need to sync the audio with your video footage. This can be very challenging if you are short on time or expertise.

Lighting
Use the lights you have, or you can purchase a semi-professional lighting kit.
For best results use 3-point lighting: a key light, a fill light, and a back light.
Ensure that your face is lit well: use a light source which is directed onto one side of your face (left or right: this is your key light). Then, use another light source which is softer (can be a dim lamp or a window) and lights the other side of your face: this is your fill light. If you can, have another light source lighting the back of your head (your back light).
Work with what you have, but in all cases avoid creating a silhouette where your face is in shadow. Do your best to ensure that your face is clear on camera.


Autocue software
To help you appear more professional – and to reduce editing time – use autocue software. An autocue (often also called a “teleprompter”) is a device that connects to a camera, and uses a piece of glass to reflect your script onto the camera’s lens. This means that as you are reading your script, you are also looking straight into the lens. So, not only are you looking in the right spot, but you don’t need to memorise your lines!

You can download software that will display your script onto your device’s screen, so that you can read it while recording yourself. Brilliant!
Next steps
With these tips you’ll be shooting better video in no time! Let us know if these tips have helped you, or if you have questions.
There is a lot more to creating great videos, and these tips will help you on your journey. Enjoy the learning experience and keep working at it.